Request Data Action
Easily collect data from anyone
Using this feature, you can quickly generate a Form to display and collect data. It is specifically useful when you want to send a Task Form to someone and capture more information than a simple Approve/Reject.
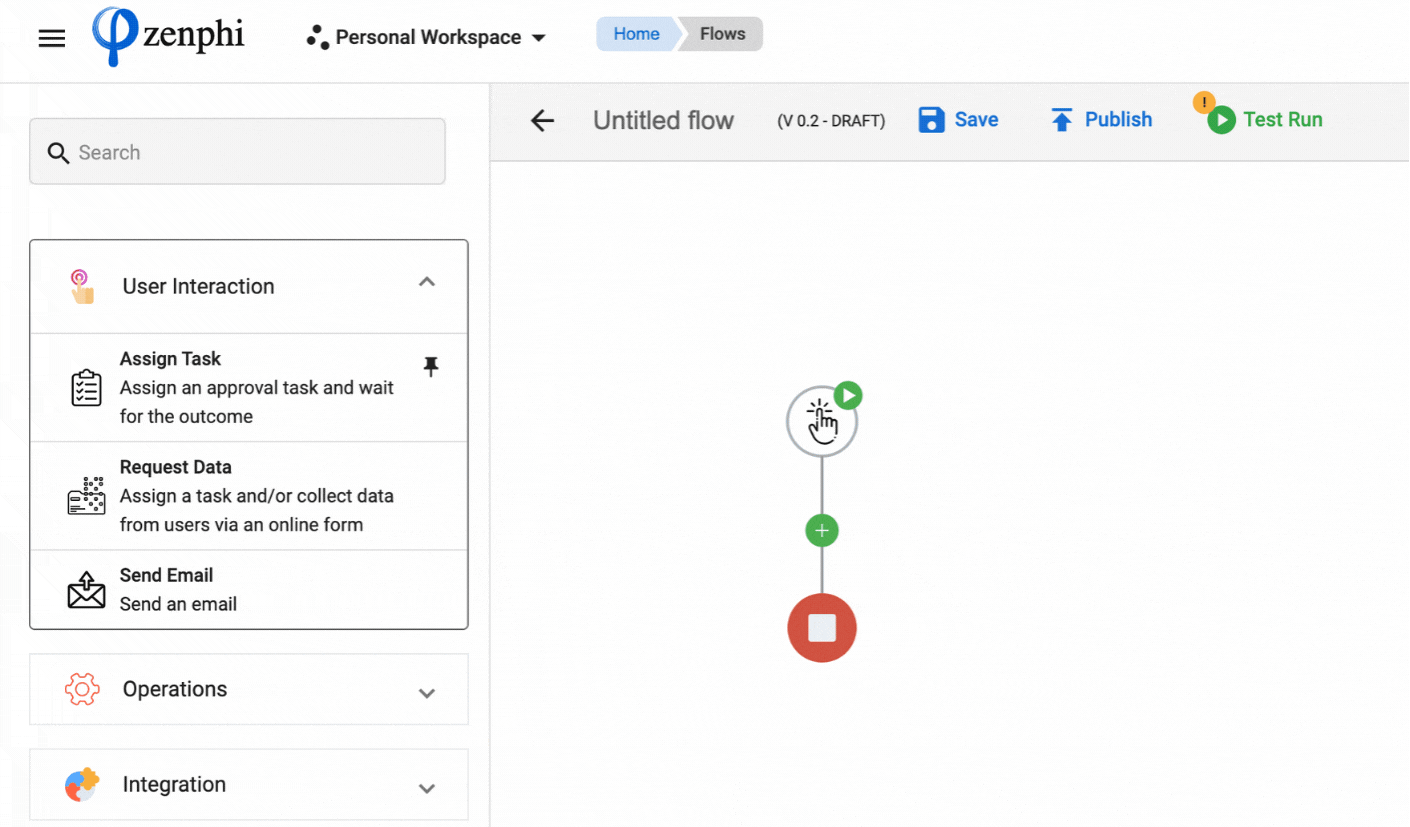
Let's learn how you can configure this Action literally in minutes ⏱
Step 1: Map the Process.
Once you connect the Request Data to your Flow by default, it will have this structure:
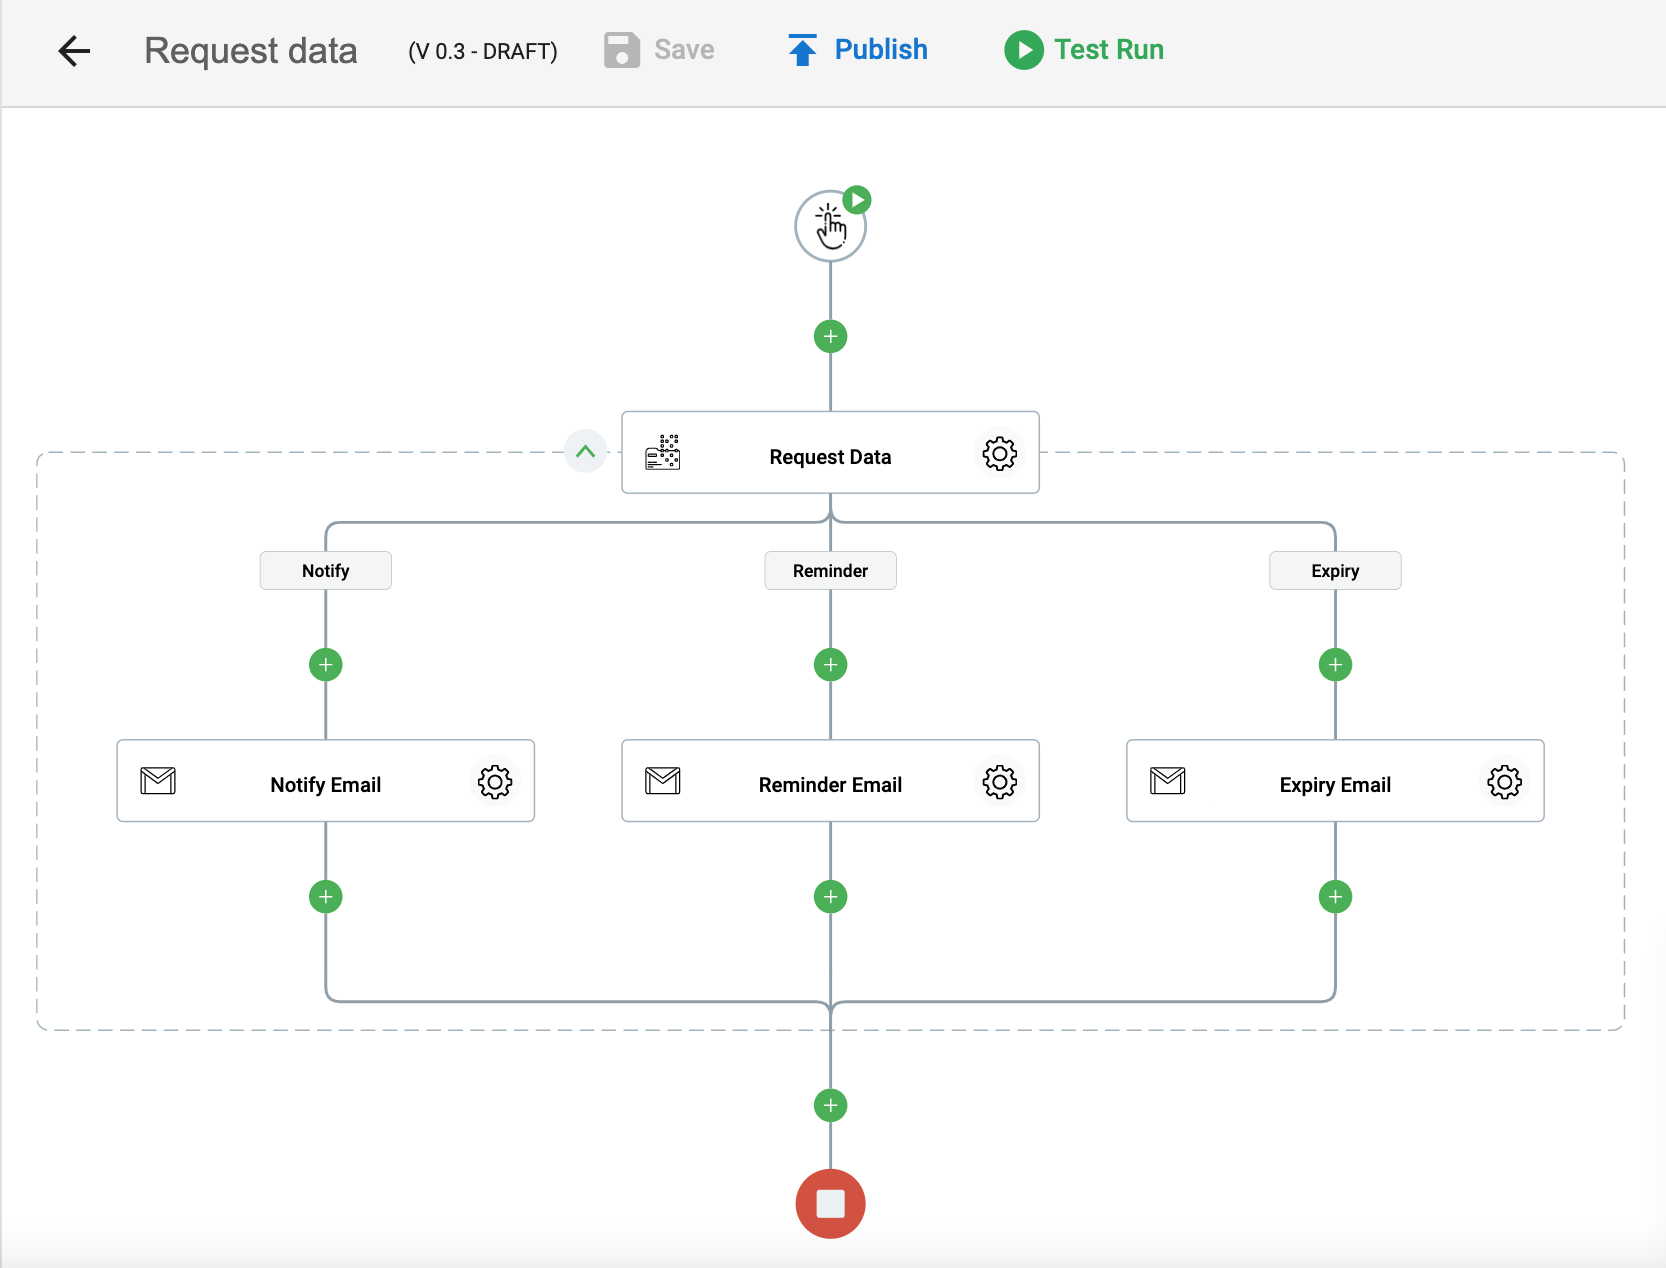
If needed, you can delete unnecessary blocks and add new ones.
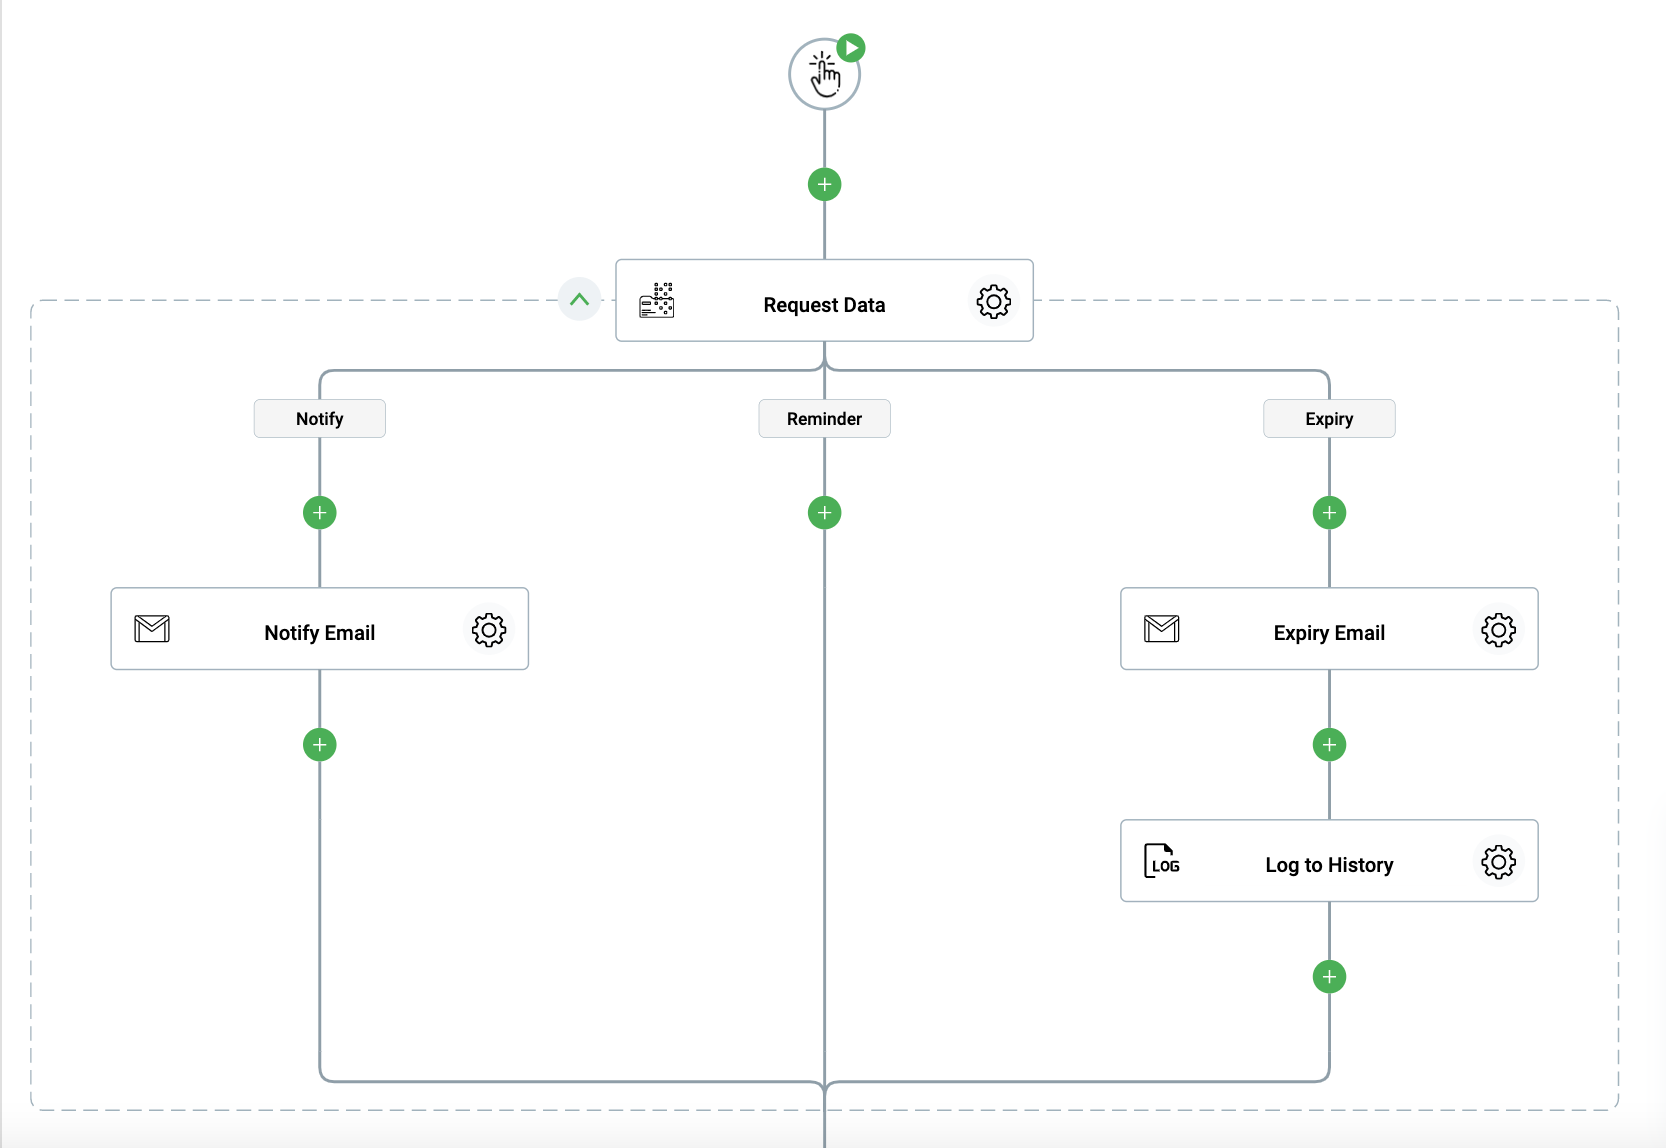
Step 2: Set up the Request Data block.
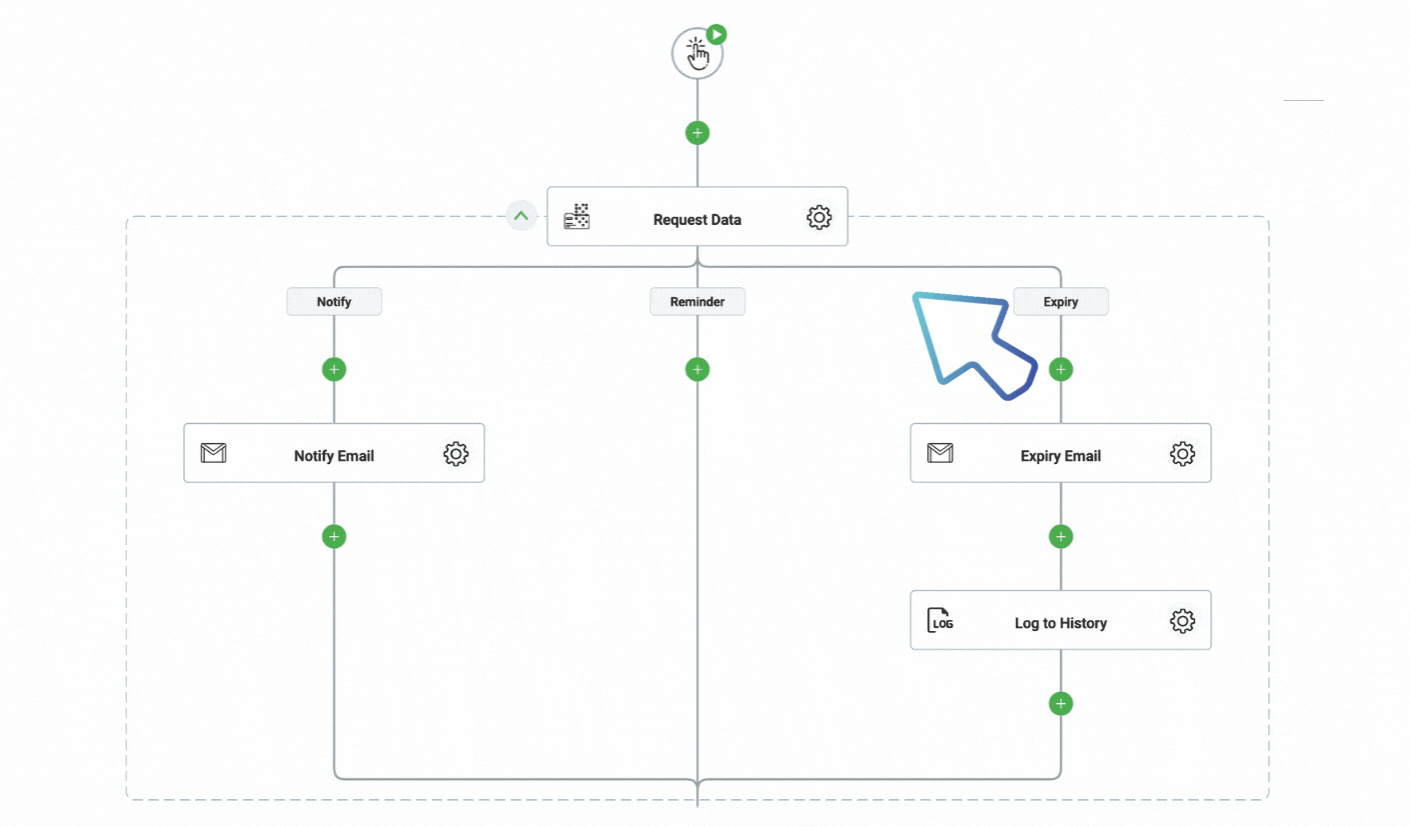
Let's review each field we need to configure here:
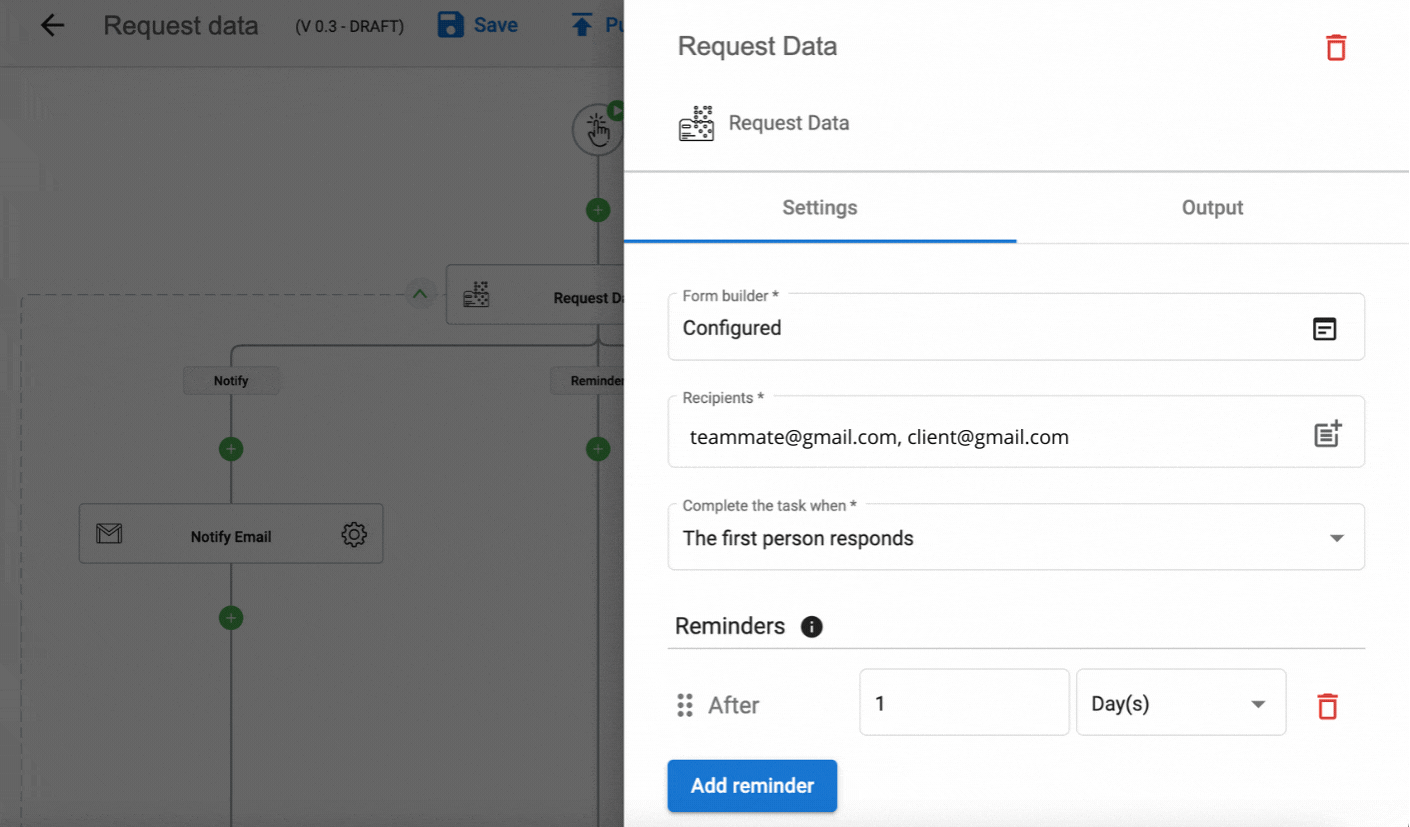
- Form builder - that's where you create your Form, add questions, sections, etc. The logic is the same as for Google Forms.
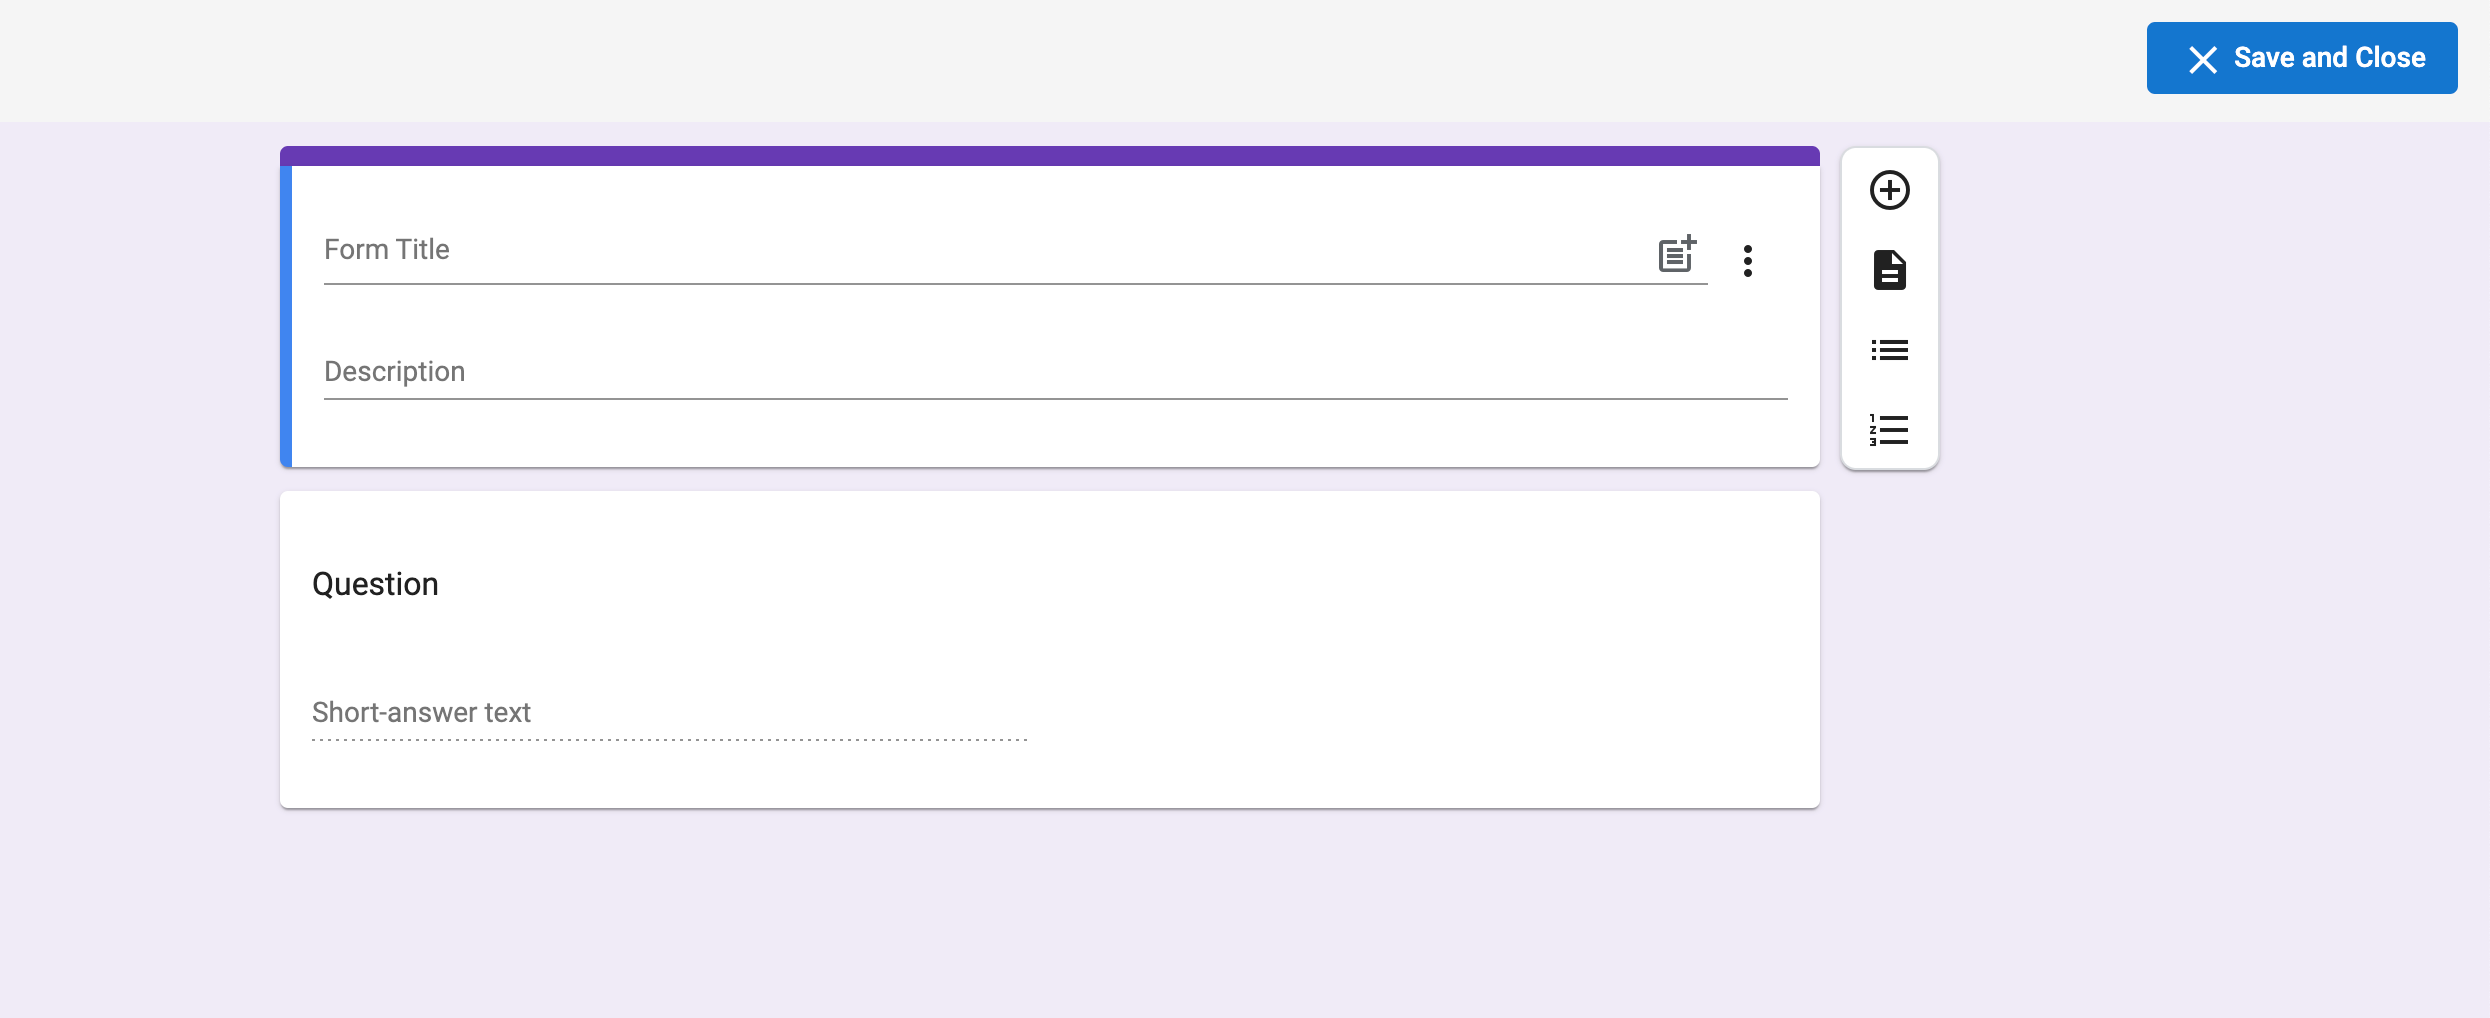
Once you're done, click on Save and Close button on the top right and proceed.
- Recipients - choose who is going to receive your Form. You can choose from the Output Tokens or just type the address. To add multiple recipients, use the comma ","
For example, [email protected], [email protected].
- Complete the task when - here, you may choose how many responses you'll need to consider the task closed. You have three options to choose from:

- Reminders - set up how many reminders you want to send to recipients and when
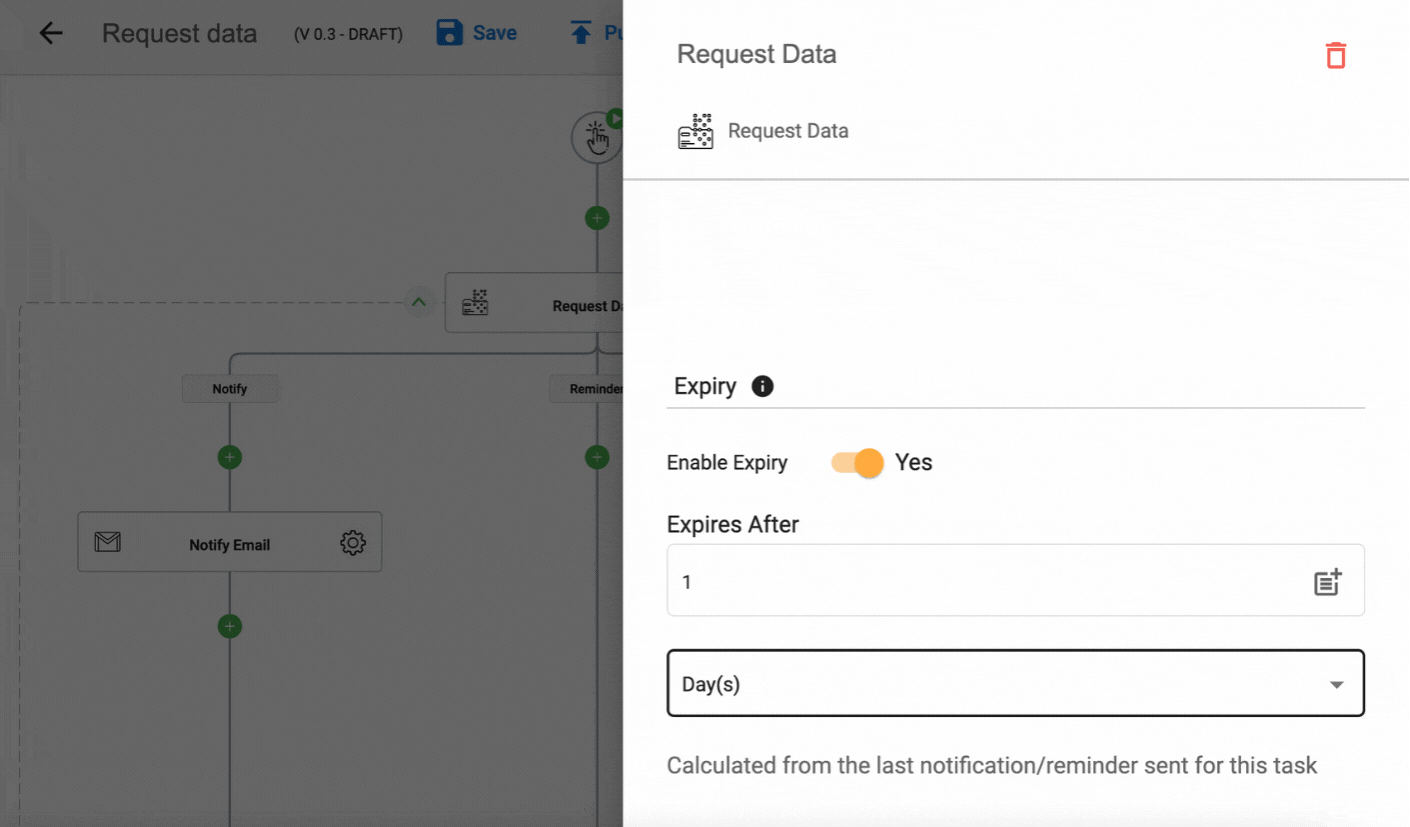
Note: The Reminders are sent only to the task assignees who didn't respond during the Expiry period.
- Expiry - configure if you want to have an expiry date for the task and when exactly the task expires.
Well done!
Step 3: Configure the Emails
We'll start with the Google account connection. Zenphi will ask you for your permission for each kind of Trigger/Action to view and interact with the data.
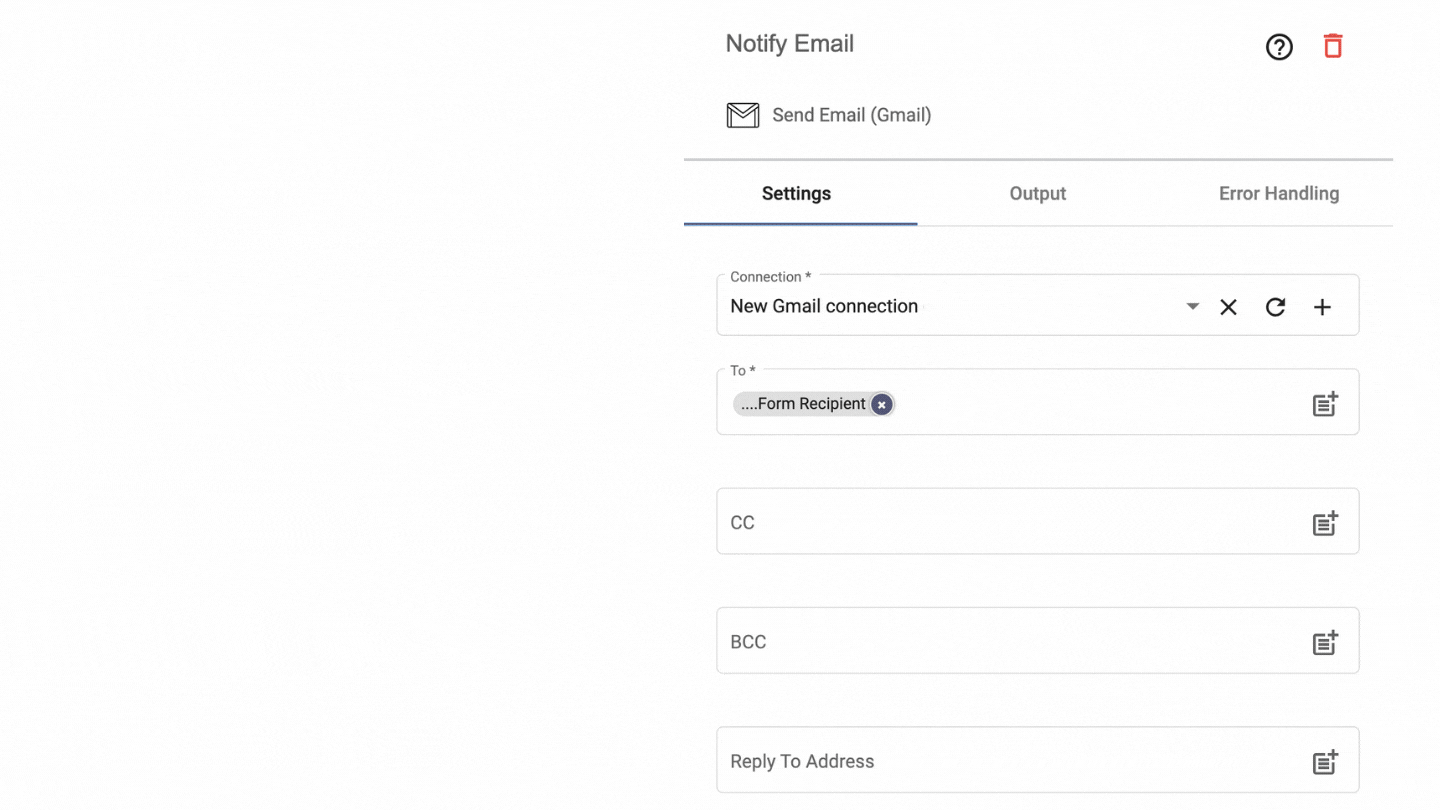
Fill in the settings for your email with the help of Output data (Tokens) from previous steps, or just type it in.
By default, zenphi fills in the To destination and Email Body template for you.
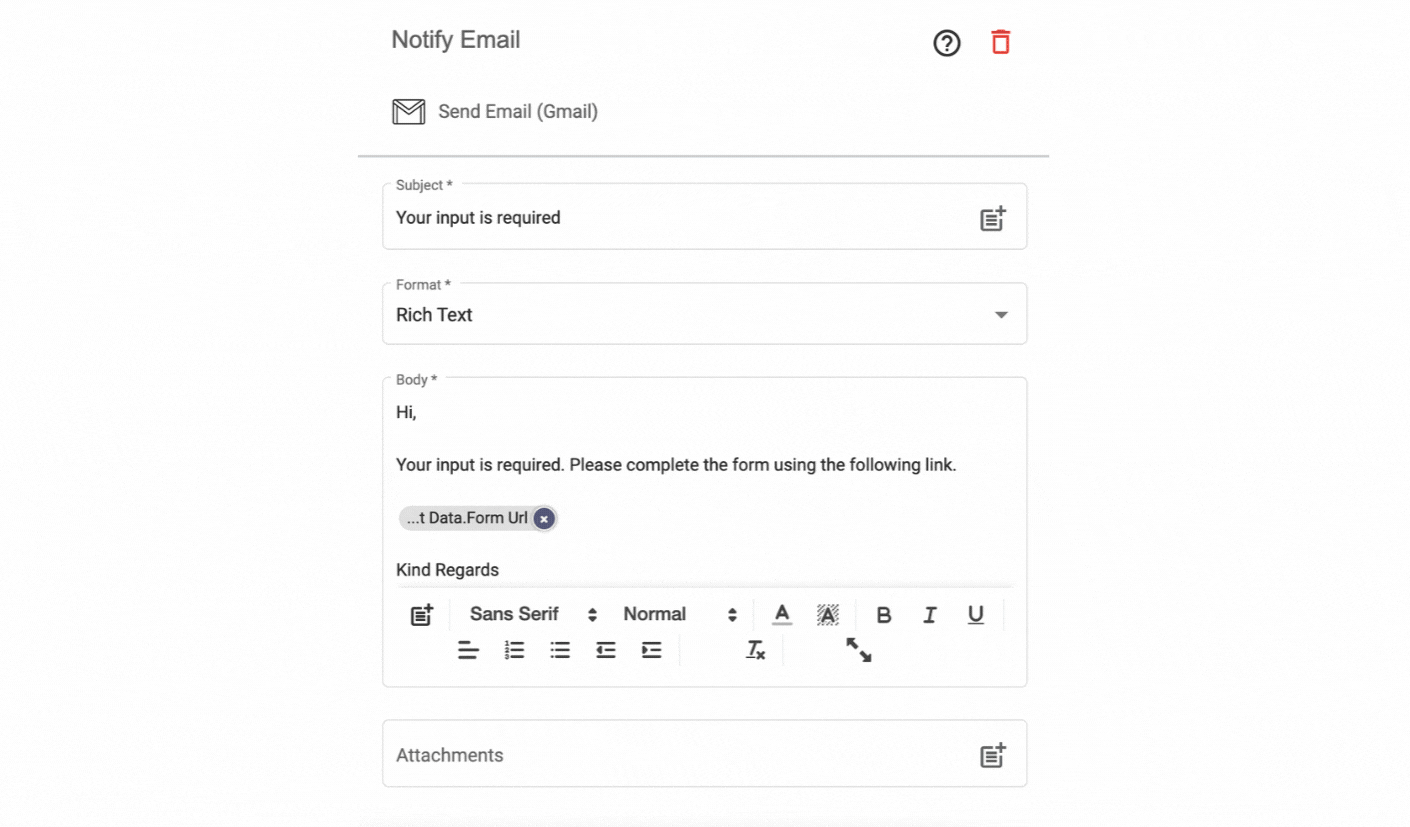
You can customize it as you wish.
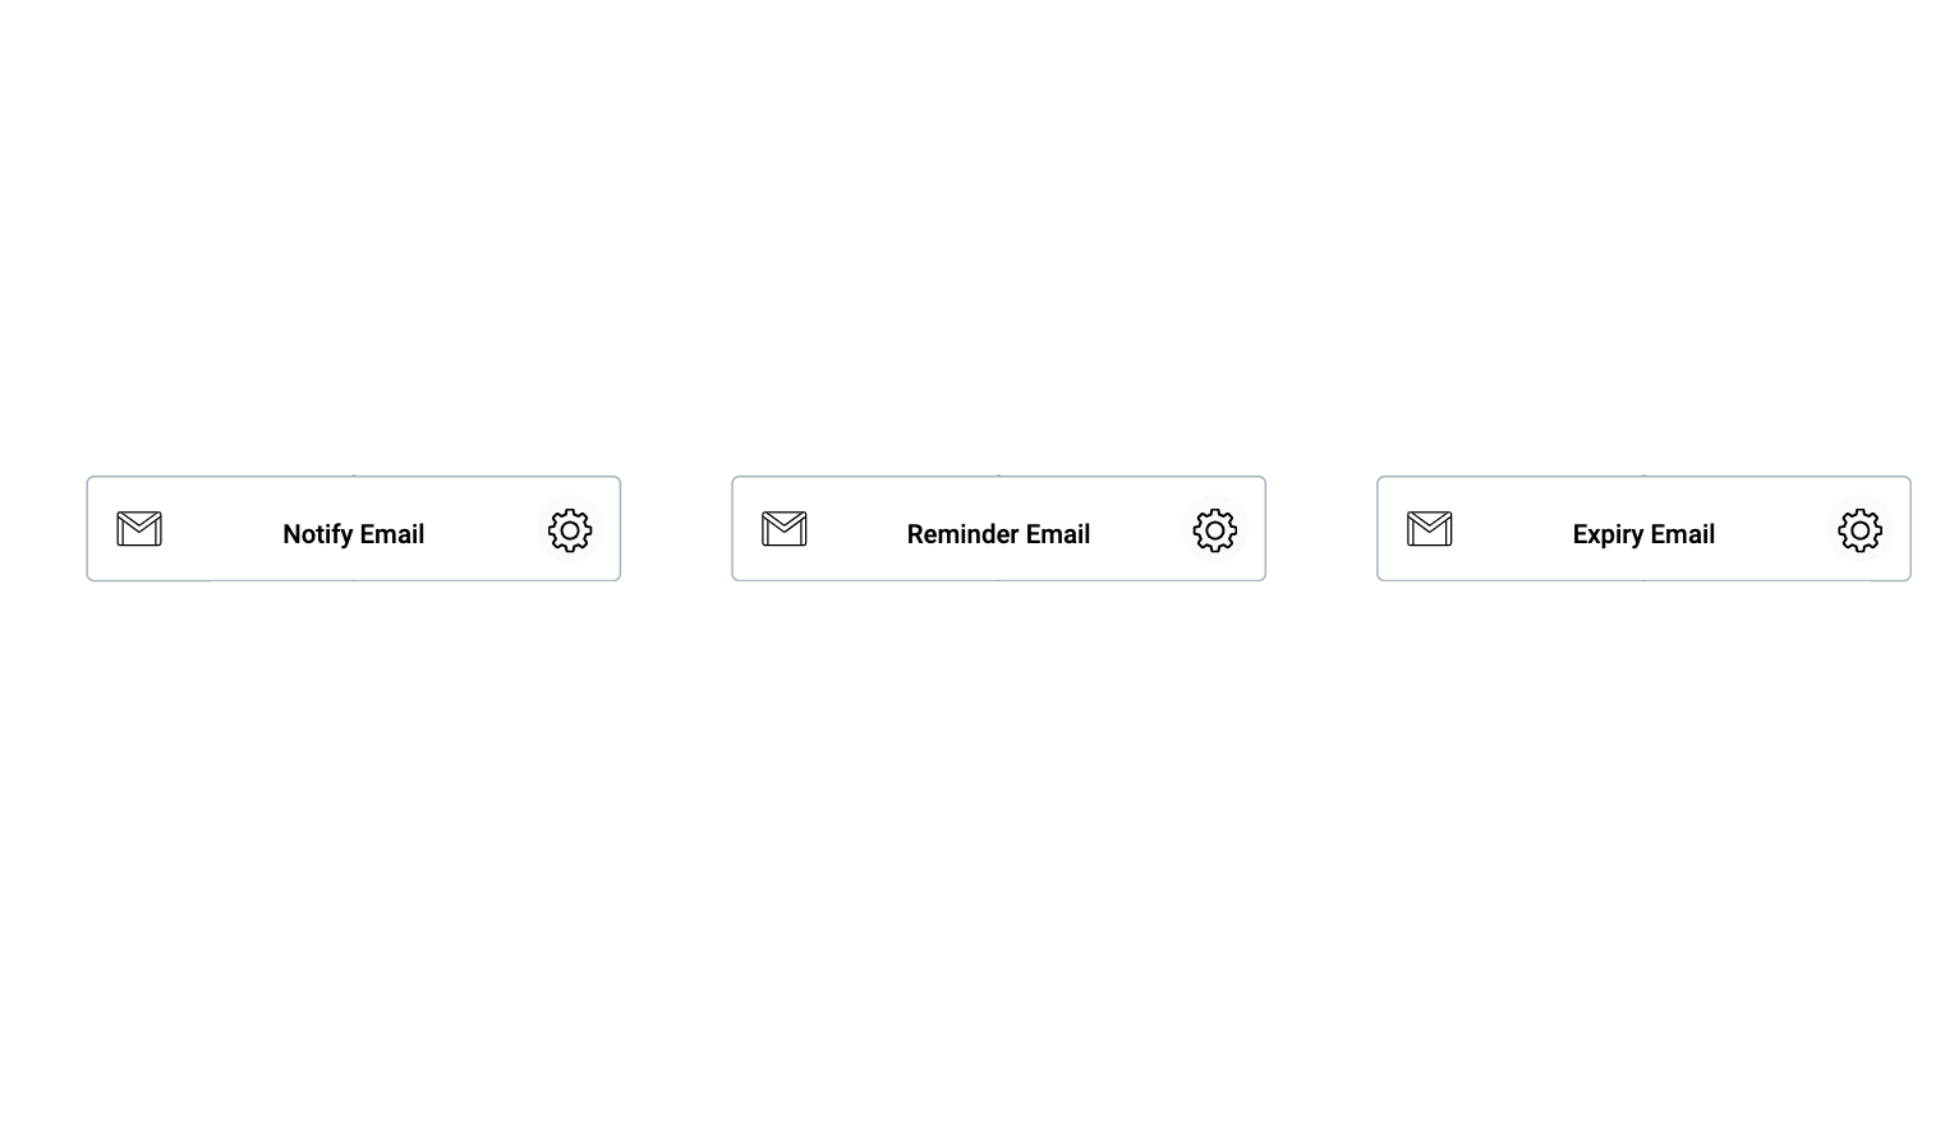
The process is the same for all three kinds of emails: Notification, Reminder, and Expiration.
Good job! The Action is configured 🎉
Updated 9 months ago
