How to Insert an Action Into a Flow?
Inserting Actions in Zenphi: The Foundation of Your Flow
Every automation in Zenphi begins with actions. Think of actions as the individual building blocks that, when combined, form your complete workflow. There are two primary ways to insert an action into your Zenphi flow:
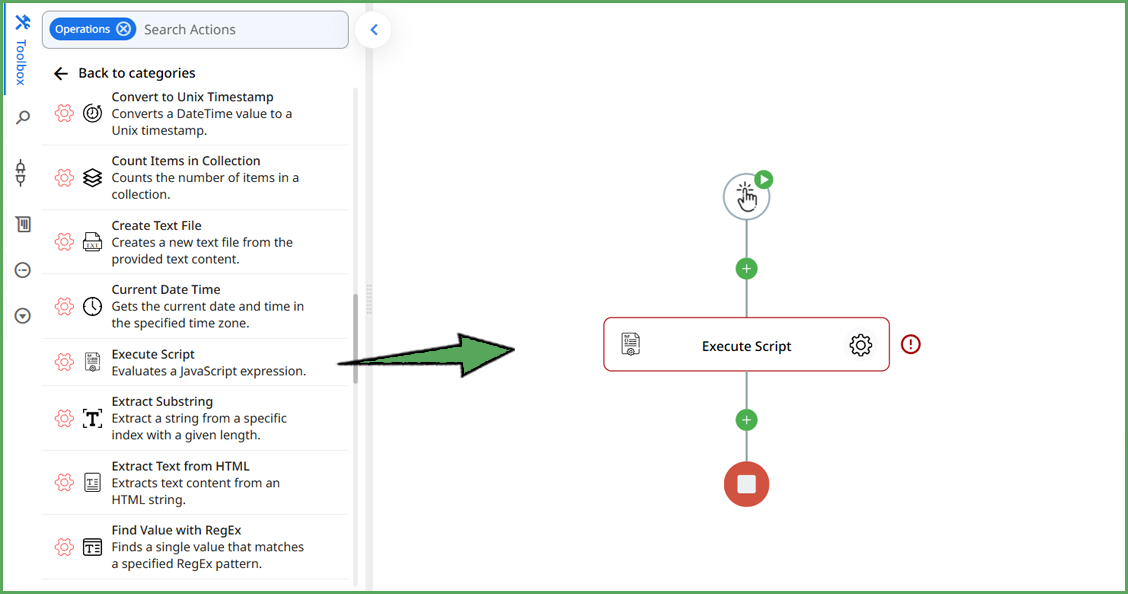
Locate your action: Browse through the action library on the left side of the Zenphi flow editor. You'll find actions organized by Category (apps like Google Drive, Gmail, Slack or functions like Flow Control, Operation, ...).
Drag it in: Click and hold the desired action, then drag it to the precise spot within your flow where you want it to execute. Release the mouse button to drop the action into place.
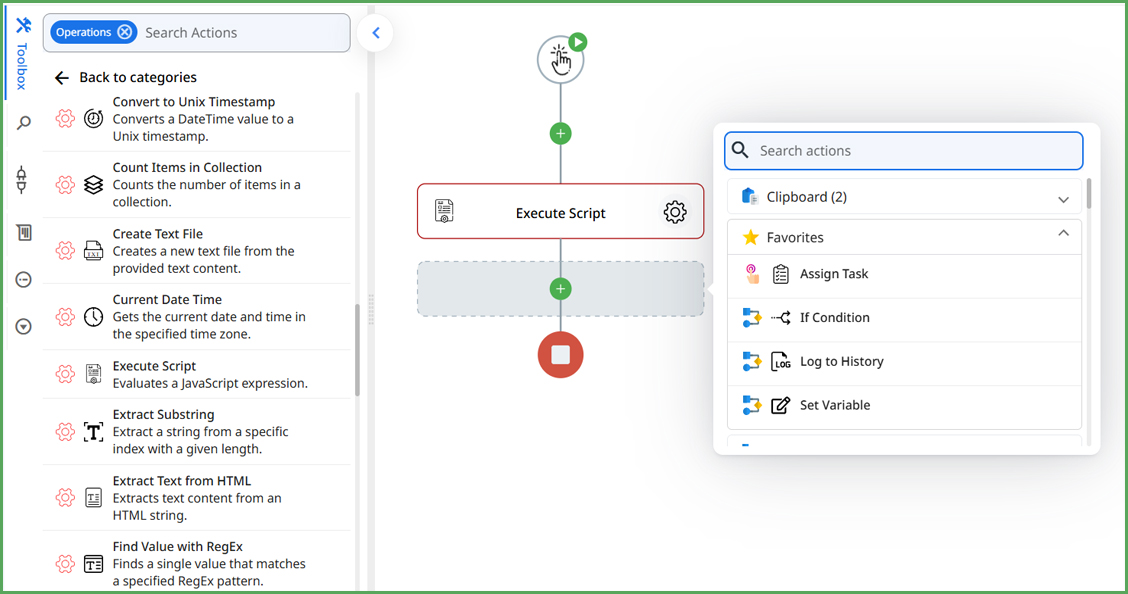
Use the plus sign: Between every action in your flow, you'll see a plus sign (+). Click this to open a menu of actions.
Add or Search: You can either select an action directly from the menu or use the search bar to quickly find the action you need.
Important Considerations:
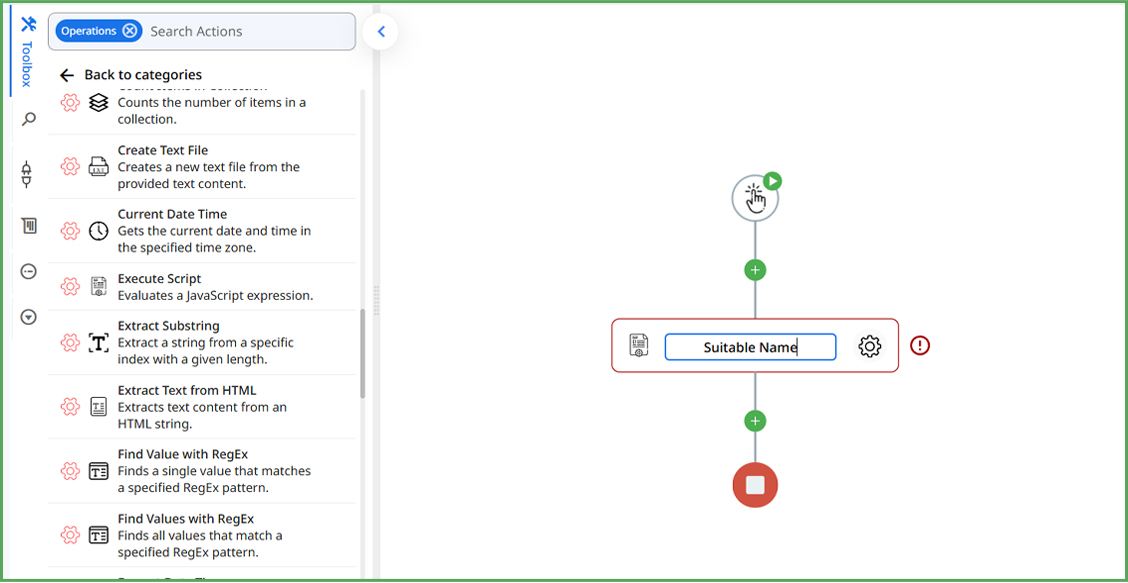
Action Names: Give your actions clear and descriptive names. This makes your flows easier to understand and troubleshoot. To rename an action, simply click on its current name and type in the new one.
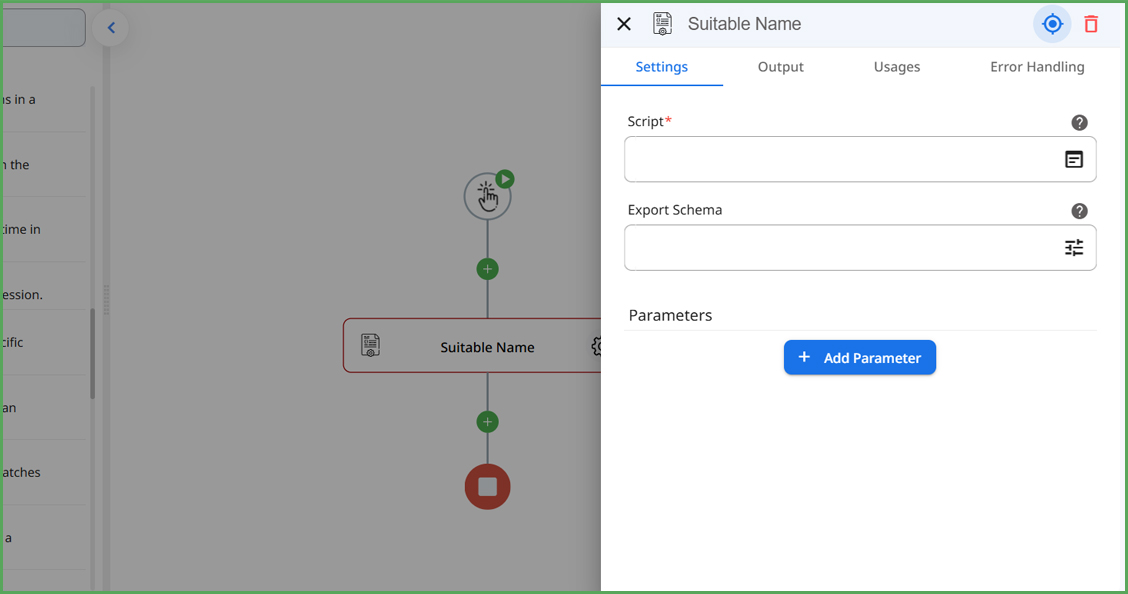
Action Settings: Once you've inserted an action, you'll need to configure its settings. This might involve specifying file names, email recipients, or conditions for the action to execute.
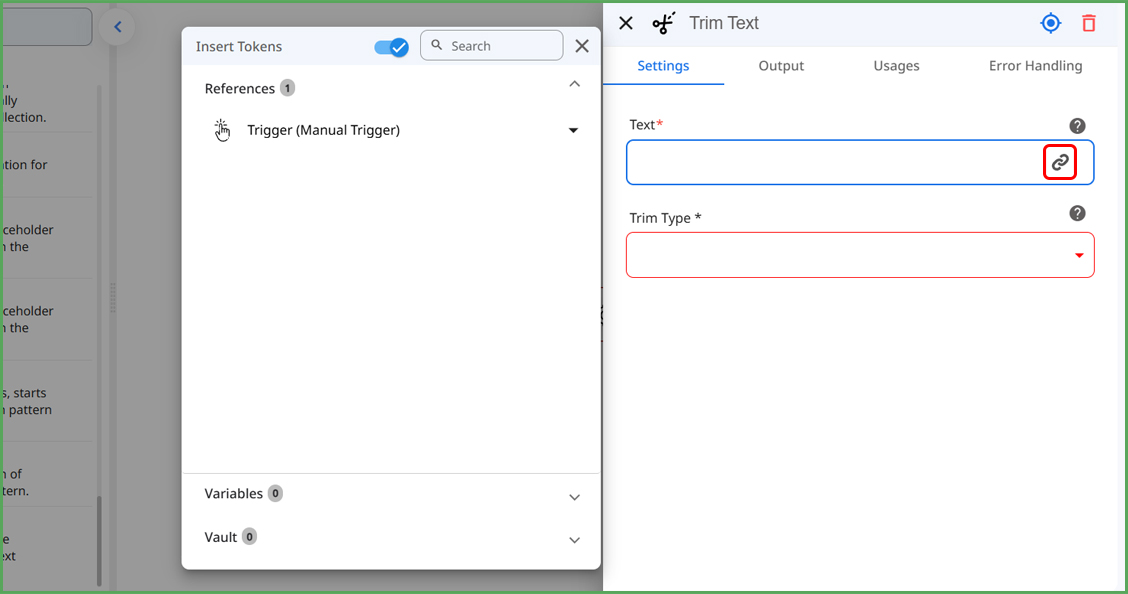
Dynamic Data: Zenphi's power lies in its ability to use dynamic data. Look for the token picker icon (which looks like a chain link) to insert information from previous steps, form submissions, or other sources into your actions.
Flow Logic: The order in which you insert actions determines the sequence of events in your automation. Think carefully about the steps involved in your process and arrange your actions accordingly.
By mastering the insertion of actions, you'll be well on your way to building powerful automations in Zenphi!
Updated 9 months ago
