Creating a Google Workspace Administration Connection
This guide explains how to set up and use a service account based connection to access the Google Workspace Administration actions in zenphi.
Step 1: Create a service account in Google Cloud Console
Create a service account that zenphi will use to access execute the admin actions.
Create a service account:
To create a service account, follow these steps:
- Open the Google Cloud console.
- At the top-left, click Menu menu > IAM & Admin > Service Accounts.
- Click Create service account.
- Fill in the service account details, then click Create and continue.
Note: By default, Google creates a unique service account ID. If you would like to change the ID, modify the ID in the service account ID field.
- Optional: Assign roles to your service account to grant access to your Google Cloud project's resources. For more details, refer to Granting, changing, and revoking access to resources.
- Click Continue.
- Optional: Enter users or groups that can manage and perform actions with this service account. For more details, refer to Managing service account impersonation.
- Click Done.
The service account appears on the service account page. Next, create a private key for the service account.
Create a private key
To create a private key for the service account, follow these steps:
- Open the Google Cloud console.
- At the top-left, click Menu > IAM & Admin > Service Accounts.
- Select your service account.
- Click Keys > Add keys > Create new key.
- Select JSON, then click Create.
Your new public/private key pair is generated and downloaded to your machine as a new file. This file is the only copy of this key. For information about how to store your key securely, see Managing service account keys.
- Click Close.
For more information about service accounts, see service accounts in the Google Cloud IAM documentation.
Step 2: Create a Google Workspace Administration connection in zenphi
Go to zenphi connections and click on the + New button to create a new connection. In the list look for the Create a Google Workspace Administration connection.
Go to zenphi connections and click on the + New button to create a new connection. In the list look for the Create a Google Workspace Administration connection.
Click on "Connect".
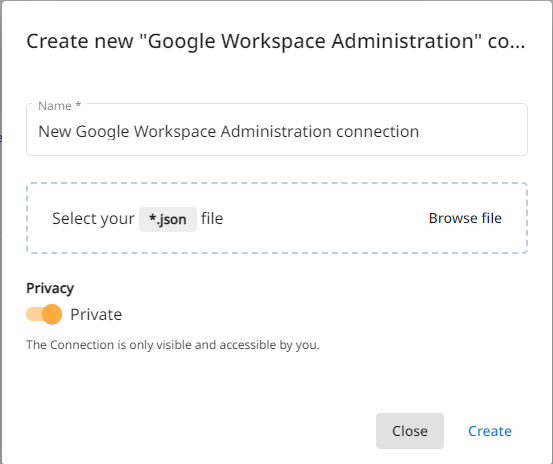
Click on the "Browse file" button and select the JSON key that you downloaded in the above step and create the connection.
Step 3: Set up domain-wide delegation for a service account
To call APIs on behalf of users in a Google Workspace organization, your service account needs to be granted domain-wide delegation of authority in the Google Workspace Admin console by a super administrator account. For more information, see Delegating domain-wide authority to a service account.
To set up domain-wide delegation of authority for a service account:
- Open the Google Cloud console.
- At the top-left, click Menu > IAM & Admin > Service Accounts.
- Select your service account.
- Click Show advanced settings.
- Under "Domain-wide delegation," find your service account's "Client ID." Click Copy

to copy the client ID value to your clipboard.
- Click View Google Workspace Admin Console, then sign in using a super administrator user account.
Note: If you don't have super administrator access to the relevant Google Workspace account, contact a super administrator for that account and send them your service account's Client ID and list of OAuth Scopes so they can complete the steps below in the Admin console.
- In the Admin console, at the top-left, click Menu menu > Security > Access and data control > API controls.
- Click Manage Domain Wide Delegation.
- Click Add new.
- In the "Client ID" field, paste the client ID you copied in step 5.
- In the "OAuth Scopes" field, enter a comma-delimited list of the following scopes required by zenphi.
https://www.googleapis.com/auth/admin.directory.user
https://www.googleapis.com/auth/gmail.settings.basic
https://www.googleapis.com/auth/gmail.settings.sharing
https://www.googleapis.com/auth/gmail.labels
https://www.googleapis.com/auth/calendar
- Click Authorize.
Updated 7 months ago